Create a Grid Collage Print in Seconds

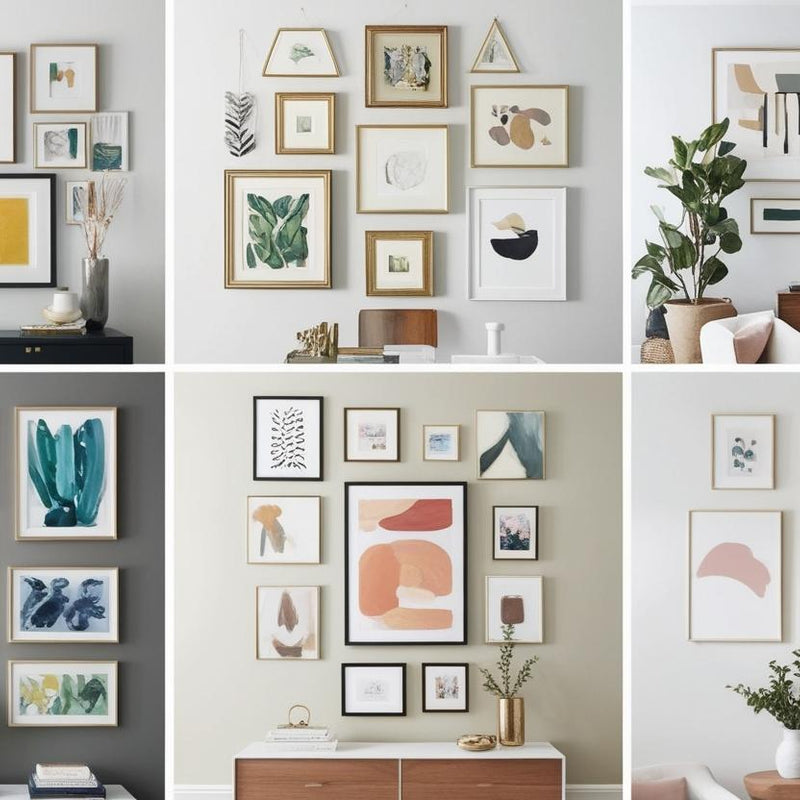
One of our favourite features on the new site is the ability to easily and quickly create beautiful looking grid-style collages - in real time as you place your order. In this post, I'm going to run through how to make an order for grid collage and share some tips for ensuring you get the best results - whether it's a photo on canvas print, a framed print or a photo paper/poster print.
The first thing to do on the site is to select the product type you want - just mouse over the PRODUCTS link at the top of the site and you'll see all the available products. You can choose from canvas, framed, wood mount or poster. Whichever product type you choose, the approach is the same so for the purposes of this post, I'm going to assume we are ordering a framed print. Once you click on ORDER NOW, from the product page you are taken straight into our custom printing app - this is the heart of the site and is where all the product customisation and image editing takes place. Our grid collages are based on square images so to keep things simple, the final print is only available as a square - so to order a grid collage, you must make sure to select SQUARE as your final print shape.
Once you've chosen your size, you'll then be asked to select the grid layout. You can choose from 2x2, 3x3 or 4x4 in the framed prints. So this means you can have two rows of 2, three rows of three images or four rows of four images. Remember, the total print area is always the same (30x30cm) so the more photos you want to print, the smaller they all are. Having chosen your layout style, you will then be asked to select and upload your images. For the quickest and easiest upload experience, we recommend using instagram images. Why? Because they are already square so you don't have to crop them. Connecting to instagram is a breeze thanks to our Filepicker integration.
Now, here's another important tip - you can tick multiple images to upload all at once. Just tick all the images you want to use and then hit upload - no need to do it one at a time. Once your photos are all uploaded - look out for the tool-tip icon at the top left corner of each image. Clicking on this opens up the image in the Aviary image editor and from here you can get really creative on editing. Apply filters, adjust contrast, sharpness and much more. You can also re-crop (always a square) to reframe the composition of each photo. This is very handy with some instagram photos which have black or white borders around them. We generally advise removing these borders as our grid style adds a white border around each image anyway. Finally, once the editing is complete you can then simply drag and drop your photos into the position you prefer. Want a particular photo in the top left? No problem - just pull that photo over to that position. It's so easy.
You're framed grid collage is now ready for preview - hitting continue at this stage will present you with the preview screen, showing how your finished print will look in the frame (or as a canvas). All these preview photos were taken by us at the gallery in Kinsale - they are absolutely real and give you a very accurate and true to life visual representation of how your finished print will look.
That's it! Your grid collage print is ready to be placed in your basket and you can move onto checkout. From start to finish, you can create a grid collage in under a minute if you already have your images set up as square files on instagram. Allow 5-7 days and the print should be in your hands. Happy shopping!


